May 3, 2023
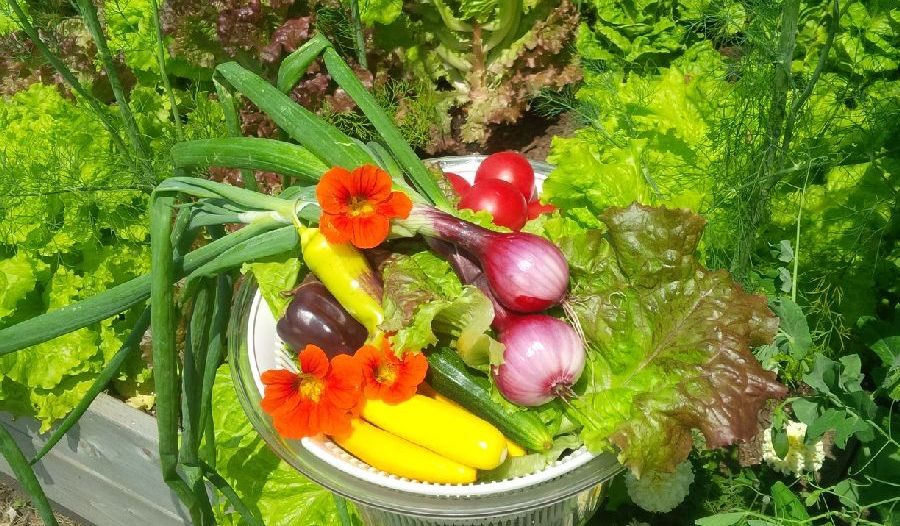
Planning Your Vegetable Garden: Raised Beds
A lot of people are thinking about expanding their veggie garden by using raised beds, and that’s great! There are lots of advantages to having raised beds: reduced strain on your back, weed control, good drainage, protection from critters and other pests nibbling on your tender greens, etc. There are many types of raised beds out there, from simple wooden boxes to metal troughs, and some even have legs! We prefer ‘bottomless’ beds which are open to the ground below to allow roots to go as deep as they want, which then results in strong, healthy plants.
Position Beds with the Long Side facing South
This will ensure equal light exposure to all plants in the bed. If your outdoor space is limited, place taller varieties and those growing up trellises at the north end to avoid casting shadows on shorter plants.
Prepare the Area Before Installation
Raised beds with bottoms don’t need any extra steps besides ensuring the ground is level. If you’re using ‘bottomless’ beds and the proposed area has never been used as a garden, you’ll have to remove any sod/grass, weeds, and rocks. Turning over the soil will help loosen hard clumps of dirt, and find any tree roots that need to be removed. Amend the area by mixing in compost, manure, or 3/1 mix to help give your plants a rich layer to stretch their roots.
Make Sure the Bed is Level
Use a level on all four sides of the raised bed to ensure a level growing area. You can sink the higher side(s) into the soil, or use spare pieces of wood or paving stones underneath to level it all out.
Fill with Soil
Garden soils and additives are too heavy for container gardening as it can crush the plants’ tender roots, so only use good quality potting soil for any raised beds which are separated from the ground by a solid bottom. “Bottomless” beds can be primarily filled with garden soil, 3/1 mix, and some peat moss, since they are open to the soil below. Leave ½ to 1” of space from the top to allow for watering, and avoid compacting the soil once the beds have been filled.
Plan It Out
Draw out a plan for your raised garden bed. Take the time to research plant heights and widths, harvest times, and other details that can help you grow with success!
Succession Planting
Use quick-maturing crops like beans, peas, spinach, and lettuce to keep your garden producing all season long! Seed your crops 2-3 weeks apart except during the high heat of summer – skip these weeks entirely as you’ll have a better harvest in slightly cooler weather.
Save on Space by Adding a Trellis!
Many vegetables can be trained to grow up vertical supports, including cucumbers, tomatoes, climbing peas and pole beans. Use a trellis on the north side of the bed to avoid shading the smaller plants.
Grow Out
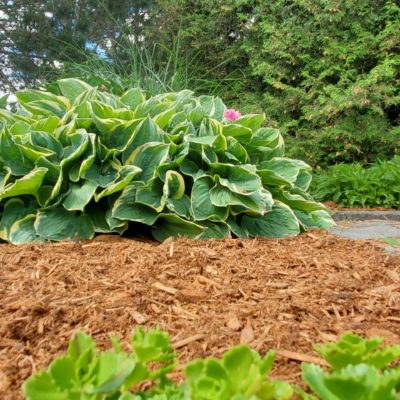
Larger plants, like squash and pumpkins, take up a lot of garden space but can drape over the sides of the bed to take up less real estate. Increase your growing area by adding mulch around the outside edges to keep your crop off the ground.
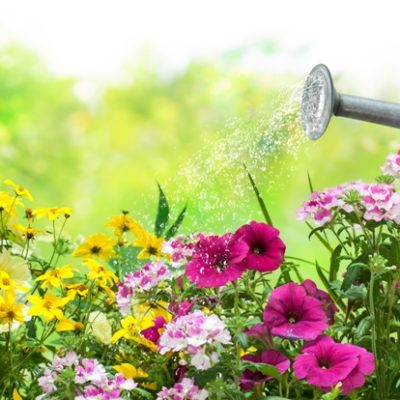
Make It Pretty Too!
Add edible flowers like nasturtiums, pansies, violas and marigolds. Plant herbs with your vegetables so that all ingredients can be harvested as needed.
Avoid Soil Compaction
Soil compaction, or pressing down on the soil’s surface, can reduce aeration and possibly crush/impede root growth. If your bed is too wide for you to reach the middle, lay a wide, sturdy board across your bed to keep buckets, baskets, tools, and whatever else out of the soil.
Get the Kids Involved!
Let your kids or grandchildren have a spot in the garden. If they grow it, they’re more likely to eat it!
Post Views: 2,491