May 1, 2021
Seed Starting Part 5: Hardening Off and Planting Out
Well, we’ve made it. It took a lot of hard work, planning, and table space, but we are finally ready to put all those adorable seedlings outside…almost. You’ve been so patient with them, they just need a little more time before they can grow big and strong outside (and you can reclaim your tables and shelves!).
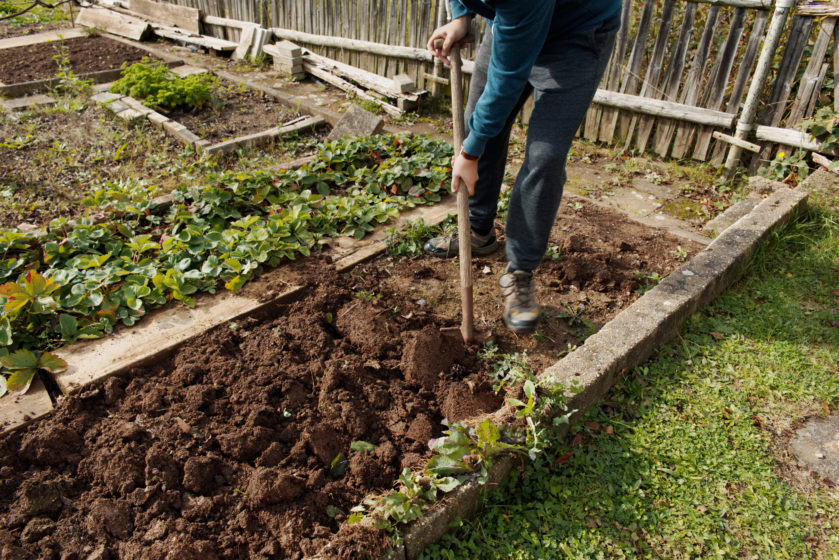
If you see frost warnings on your local weather reports, or if Mother Nature is wavering below 10°C, you can use this time to prepare your outdoor spaces for their new tenants. Plants grow from the roots up, after all, and giving them the right soil conditions will provide them with a productive and healthy life cycle. Even just loosening your garden soil and adding some compost can help give your seedlings a great foundation for the season. And weeding! It’s always a good time to weed your garden and planters: it will ensure your precious plants get the nutrients and water they need to survive and thrive, and it’s great exercise for us gardeners!
Once the weather starts to get consistently warmer (above 10°C) you can start acclimatizing your seedlings to the outdoors, a process called “hardening off”. It’s a simple schedule of putting them out and then bringing them inside again, which may sound futile but there’s good reason for it. Without this time to “harden” themselves to all the varying elements (sun, wind, temperature, rain, etc.) they could go into shock and/or weaken, and that would be a waste of all your hard work. So just one more step and then this chapter of indoor seeding will be complete:
- Check and double check your local weather reports! You’re looking for 10°C and higher, both day and night, making sure there are no other drastic dips in temperature. Most seedlings can’t handle any kind of chill, and it’s not a risk you want to take this late in the game.
- Some seeds prefer the ground to be quite warm before moving in. Check your trusty seed packets to see which varieties should be delayed a few more weeks.
- You’ll need both sunny and fully shaded areas to harden your plants. If you don’t have a good shaded area outside, either under a tree or next to a building, then bring your seedlings back inside your home at the assigned times each day.
- Keep to the schedule! Put them outside at the same time every day, preferably early morning as morning sun is weaker and will give them even more time to adjust. It’s a lot of moving back and forth, but it’s worth it.
- This process should take about a week, weather permitting. If it calls for heavy rains, strong winds, frost (cannot stress that one enough!) or temperatures below 10°C, then wait until the weather stabilizes before hardening your plants.
- Day 1: should be warm and sunny, even though you’ll be putting your seedlings in the shade. Keep them in the shade all day and bring them all back inside before nightfall.
- Day 2: Place all seedlings in early morning sun for 2-3 hours and move back into the shade for rest of the day. Bring back inside for the night.
- Day 3: Place all seedlings in sunny spot for 4 hours, and then back into shade for the rest of the day. Bring back inside for the night.
- Day 4: Place all seedlings in sunny spot for 6 hours, and then back into shade for the rest of the day. Bring back inside for the night.
- Day 5: Place all seedlings in sunny spot for 8-10 hours, and then back into shade for the rest of the day. Bring back inside for the night.
- Day 6: Place all seedlings in sunny spot for the entire day. Bring back inside at night.
- Day 7: Place all seedlings in sunny spot for entire day and night.
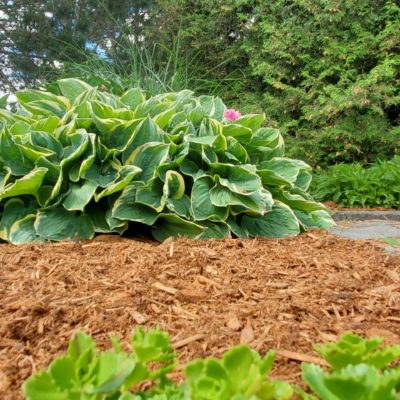
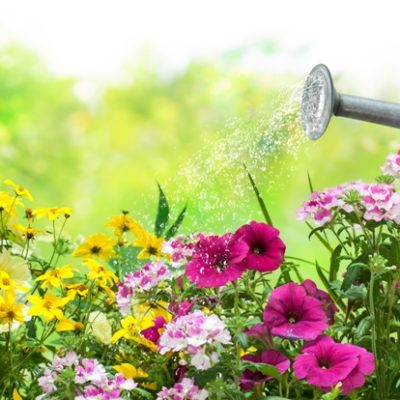
By now your not-so little seedlings should be acclimatized to the outdoors, and you get to play in the dirt again! Try to transplant into your gardens/planters on a cloudy day, just to give your plants one less thing to stress over. Keep your soil levels constant when planting, except for tomatoes – feel free to almost bury them but keep the top 2 layers of leaves above ground level (fun fact: tomatoes root from their stalks). Water in all your new plants and cover with a light layer of mulch if you want; it’s not a mandatory step but it will help with evaporation and weed control. Stay vigilant with your weeding to help your gardens to stay strong and healthy.
And…you did it! It was a long process, with a lot of planning and patience, so congratulations to you and all your hard work! Now the next phase of your gardening adventure can begin, so for now you can wash the soil off your hands and enjoy all your efforts.
Post Views: 4,451