March 3, 2021
Seed Starting Part 3: Planting, Finally! (10 Steps from Seed to Sprout)
At last! You have been so patient, getting all your supplies together, making sure you have the proper soil mix, and setting up your seeding station for all your future little sprouts. And now it’s time to put all that preparation to good use and get dirty!
Remember that mountain of information on your seed packets? Remember the all-important “Sowing/Start Indoors” date? No, no need to panic, you’ve still got plenty of time to double-check your dates. For vegetables, most of them want to be planted 4 – 8 weeks before the last frost, except for onions, leeks, and eggplants which take 10, and celery and celeriac prefer 12 weeks of cozy indoor growing. Flowering plants, both annual and perennial varieties, can vary but usually hit that 4 – 8 week window, as well.
Oh, one more thing! If you’ve got specific numbers in mind as to how many of each plant you want to end up with, make sure you sow a few extra of each variety just in case. This goes back to that tricky germination rate; some seeds just don’t take very well, no matter what you do to coax them out of hiding. So it’s better to have extra and then thin out the weaker ones later to get the best plants, but more on that in Part 4!
Ready to sow? Then let’s go!
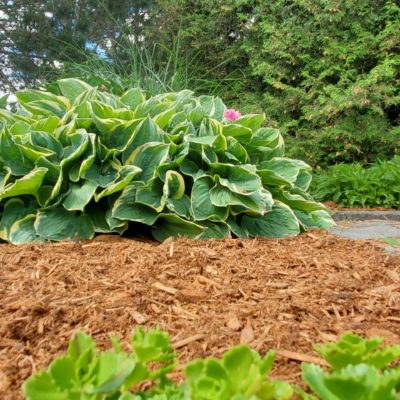
- Fill your containers with seedling or soilless potting mix (remember, some all-purpose potting soil can be too heavy for tiny seedling roots, and can keep them too wet or unevenly dry). No need to pack down the soil, you’ll want it slightly loose to allow all those roots to push through. A light tamping on your work surface is more than enough – this is a little trick we use at the greenhouse, plus it leaves just enough room at the top for both seed and covering soil.
- If you need a deeper hole than the already tamped-down soil allows, make a small hole or depression to the required depth as stated on the seed packet. Use a pre-marked dowel, a dibbler (yes, it’s a real thing) or even the flat end of a pencil to keep your depths uniform.
- Drop your seed into the hole. Depending on the variety/seed packet’s information, this can be a single large pea pod or several tiny onion seeds. Check your packets to see if they recommend either single or “cluster” seeding.
- Sprinkle more of your seeding soil mix over the seeds and gently run your hands over the pots to ensure even coverage. Bonus: this is very relaxing!
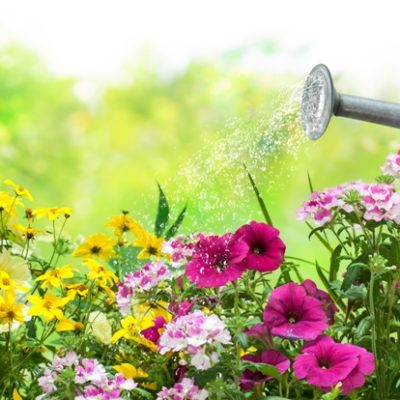
- Gently and carefully water your newly sown seeds. They have nothing holding them to the soil so a gentle hand is a must, otherwise they’ll shoot out and make a mess. Use a mister, a very fine spray bottle, or a watering can with a fine water breaker (the attachment on its tip) and moisten the potting soil thoroughly.
- Label your containers! Stick tags, popsicle sticks, masking tape, whatever you’ve got. Do it now before you forget which pepper pots are spicy!
- Cover your seeding trays with the plastic dome that came with it or a clear plastic bag. Poke a few holes in the bag for ventilation.
- Check daily – even better, check several times a day and water when needed. We prefer the gentle “lifting” method: if your pots/trays feel light, they need water. Mist the soil thoroughly but don’t allow it to become soupy.
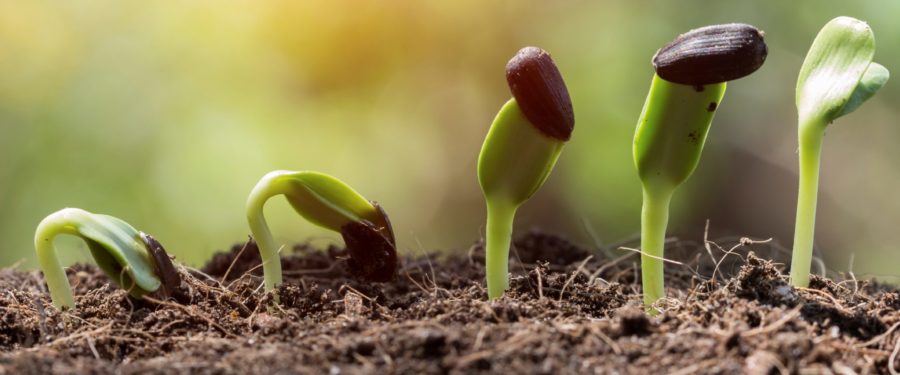
- Once you see adorable sprouts pushing through the soil, remove the humidity dome/bag and place your pots/trays in their light source (aka the window/grow light). Rotate your pots and trays every few days to ensure all plants get their fair share of light and to keep them from growing stretched or slanted.
- Place a small fan at your pots to provide good airflow. Not only will the force of the breeze help your seedlings develop stronger stalks, it will also help keep mould, fungal disease, and unwanted pests from invading your pots.
Any remaining/unused seeds should be placed back their packets and then sealed in clear, reusable bags for future reference and subsequent seeding. Keep them in a cool, dry, dark location for up to 3 years (remember that their germination rates will fall after the first year).
Congratulations, you’re now the proud owner of many, many pots of dirt! Don’t worry if you don’t see any green for a few days or even weeks, since all varieties have their own timing and some can take several weeks to sprout. Since you’ll be checking them every day you can enjoy watching them grow and change. Check back for Part 4: Survival of the Fittest (Thinning).
Post Views: 6,276