March 29, 2021
Seed Starting Part 4: Survival of the Fittest (Thinning)
Experienced gardeners know a simple truth: in order to have the best crop possible, you must choose which of your precious plants will live, and which have to be sacrificed for the greater good.
Okay, maybe that’s a little dramatic, but you’ve been watching these adorable seedlings grow for a few weeks and you may now find yourself, well, a bit attached to them. However, sometimes you must be cruel to be kind. After all, this is the main reason you seeded extras of your varieties, knowing that some wouldn’t germinate at all and others would have to be thinned from the crop. Plus, some of your taller varieties may need to be “potted up” into slightly larger pots, which means less space on your seeding station which means less plants so…*sigh* it must be done.
Here are just a few reasons why you should thin out your seedlings:
- If you’ve planted multiple seedlings in a single tray or large container, the plants will be competing with each other for everything including light, food, moisture, and even root space – this means they’ll have less energy to grow big and strong.
- There will be less air flow around the plants, which creates the perfect environment for powdery mildew and other diseases, which can then spread to your entire seeding operation.
- After thinning, you can watch your remaining plants thrive! With more access to light and food, and more room to spread out, they’ll have a growth spurt in no time!
- Some vegetables can be eaten as delicious and nutritious micro-greens! Stick with leafy greens like beets, peas, and onions, just to be safe. Do not ingest any member of the Nightshade family including tomatoes, peppers, eggplant, potato, etc.
Convinced? Great, so let’s get the tough part out of the way. If you’ve seeded your plants in individual containers, you just have to pick the ones that look healthiest and set the others aside for the compost pile. If you’ve seeded multiples in a single container and used the “seed spacing” information from the seed packets (remember those from Part 2?) you’ll have to do some extra steps. Time to rip off that bandage:
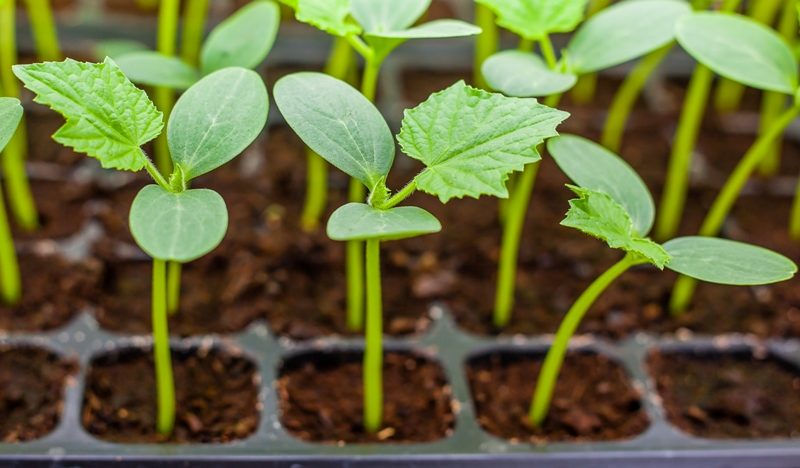
- Start thinning once your seedlings have at least 4 leaves and are around 4 inches tall. If you wait too long you could risk the health of your other seedlings that need more room to thrive.
- Double-check your seed packets for the individual seed spacing dimensions – you did keep the packets, right?
- Pick out the weaker plants and cut them at soil level using clean, sharp scissors or knife. A clean cut will help prevent any root damage to the surviving plants. Do not attempt to remove the disused roots from the soil.
That’s it, you’re done. See, it wasn’t that bad now was it? And now you’ve got more room for all your remaining plants to grow and thrive, some of which may already need to be placed in bigger homes. Some varieties will grow faster than others, especially when given ideal conditions. If you see a tight “root ball” when you remove your seedlings (gently!) from their homes, and it’s still a week or more from transplanting outside, you’ll need to repot them but only one size larger. Any bigger and you’ll risk uneven water retention, not to mention losing that all-important space on your seeding station.
*Tip: When it comes to repotting and transplanting tomatoes, the best way to get a strong, thick stalk is to go deep! Tomatoes can root out of their stalks (you can see the tiny hairs) and by planting them deeper you’ll give them a stronger foundation. At the greenhouse, we plant them at least halfway down, making sure that the top layer of leaves is above soil level.
We are almost ready to get these beauties outside! Keep up your daily checks and watering, and watch out for our final segment of this series, Part 5: Out You Go! (Hardening Off and Planting Out)
Post Views: 4,796