Let’s Get Growing!
Believe it or not, now is the perfect time to start planning for indoor seeding! Ignore the chilly weather outside and set yourself up with some pots, potting mix, and seeds of your choice to get a head start on spring gardening.
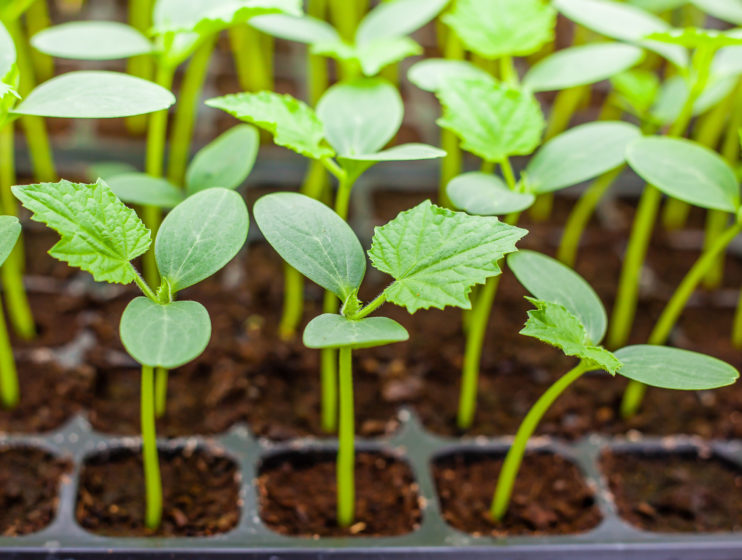
If you’re a first-timer, vegetables like Peas, Kale, and Lettuce are super easy to start. Or maybe you’ve been around the seed trays for a while now and are looking to add to your perennial garden. No matter your expertise, so long as you follow the packet’s instructions (and have a little patience!) you’ll soon be eyeing rows and rows of cute little sprouts.
Keep It Simple
The seed racks can be overwhelming, so keep in mind that each seed needs its own space. Keep your numbers manageable and seed only what you can easily commit to care for, including how much space you have for pots. Most seed varieties are viable for up to 3 years, though the first year will give you the best germination. If you find you have seeds leftover, store them in a cool, dry, dark location until next year.
Easy Seeds for Beginners
Vegetables: Beans, Carrots, Chard, Corn, Cucumbers, (Salad) Greens, Herbs, Kale, Melons, Peas, Squash (Summer & Winter), Tomatoes
Annuals: Alyssum, Celosia, Cosmos, Gazania, Marigold, Morning Glory, Nasturtium, Portulaca, Snapdragon, Sunflower, Sweet Pea, Zinnia
Perennials: Blanket Flower (Gaillardia), Columbine, Daisy (Leucanthemum), Delphinium, Foxglove (Digitalis), Hollyhock (Alcea), Lupin, Milkweed (Asclepias), Pinks (Dianthus), Poppy (Papaver), Rock Rose (Helianthemum)
Timing is Everything
Seed packets offer mountains of information, including the best time to start your seeds by referring to the number of weeks before the last frost (which usually falls around the end of May in our zone). Simply count backward from the May long weekend to estimate the best time to start seeding.
Proper Preparation
You can use just about any container for seeding, so long as it’s clean, has good drainage and is the right size – too much soil can hold excess water and lead to root rot and mould. For smaller seed quantities, plantable coir pots or even small yogurt containers (with holes drilled through the bottom) are a great option. For larger planting numbers, seed trays are ideal and many come with a clear plastic dome to help with humidity levels. Most seeds need constant moisture when first sprouting;
non-seed tray containers can be enclosed in a clear plastic bag until they’ve sprouted. Remember to remove the coverings after the leaves start to emerge.
Potting Soil
Using the correct potting soil is essential to growing healthy seedlings. Always use good quality potting soil – mixes specifically designed for seeding tend to be light and airy, so they’ll both dry out evenly and allow for new roots to push through the lightweight medium. Check your seed packets to determine whether you’ll need to dig a hole and bury your seeds, or just lay them on top of the potting soil before watering. Do Not Use Garden Soil for Seeding!
Lighting
Good lighting is essential for strong seedlings, ideally 12 to 18 hours of strong light each day. Add supplemental light by using a horticultural bulb, or even a standard fluorescent bulb, to give your seedlings a growing boost. Be prepared to raise your lights as your seedlings grow, at least 4-6 inches away from the leaves.
Warmth & Air
Average house temperatures are fine for most seeds, but some varieties may need a little extra warmth. Check your seed packets for their recommendations, as you may need a special seed heating mat to get them started. Once they’ve sprouted, you’ll then need to lower their temperature (slightly) to keep them strong and compact. A small fan on a low setting will keep them cool and provide good airflow, which also helps prevent mould and fungal diseases.
Watering
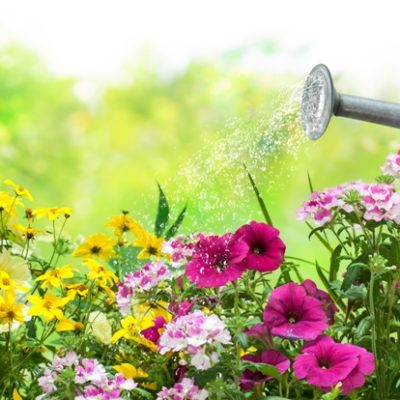
A good watering schedule is essential to young plants. They can’t be too wet or sit in soggy soil, especially overnight, and they can’t dry out either; be prepared to check on your seedlings at least 2-3 times a day. Because they’re so delicate, it’s best to use a mister or fine spray bottle to allow for gentler watering.
Fertilizing
There’s no need to worry about fertilizing until at least 3 or 4 leaves have emerged; after that, most seedlings will only need a weakened solution every two weeks. Check your seed packets for specific feeding instructions.
Room To Grow
As your seedlings grow, they’ll need more space to spread out. This is easy if you’re using individual pots, but seed trays will have to be potted into (slightly) larger containers. If you have more seedlings than pots, you may have to thin out your harvest – this seems cruel, I know, but it’s for the greater good of your crop. Cut the extra seedlings off at the soil level so as not to disturb the tender roots of their surviving neighbours.
Leaving The Nest
Before planting your seedlings outside, always check the weather forecasts! Most are very sensitive to frost – end of May is typically the ideal planting time. And you’ll have to “harden” or gradually acclimatize them to the elements over a few days: bring the pots outside for a few hours in the morning on Day 1, then back inside; leave them outside for all of Day 2, then back inside at night; on Day 3 you can leave your pots outside all day and night, and by Day 4 you’ll be ready to plant outside permanently. Good luck and happy sprouting!

