January 15, 2021
Seed Starting Part 1: Materials & Ingredients
You look outside and everything’s cold and snowy, and you get excited because it’s almost Indoor Seeding time! Starting your seeds indoors is cost-effective and gives you more control over what products are used on your plants – perfect for anyone looking to make their garden pesticide-free.
But let’s not get too ahead of ourselves, which is very easy to do right now (these cold, grey days are just begging for a burst of green!) Seeding is like trying a new recipe: we have to get the right materials, check the ingredients list, and follow the steps in the right order if we want to enjoy a delicious treat or, in this case, healthy new plants. So let’s start with Part 1: Materials & Ingredients.
Materials: This includes everything you’ll need to successfully sow your seeds indoors. You may already have some of these items hiding in an unused corner of your home – make sure to sterilize each item before using them for this year’s crop. If you’re new to the home seeding game, this is the best time to find many of these items either in stores or online.
Flat Working Surface – More important than you might think! Knowing how much space you have to work with will determine how many seedlings you can handle without getting overwhelmed (or kicking someone out of their bedroom!) You can use tables, desks, shelving units, window sills, etc. Keep in mind that your tiny seeds will only get bigger, so leave plenty of room to spread out.
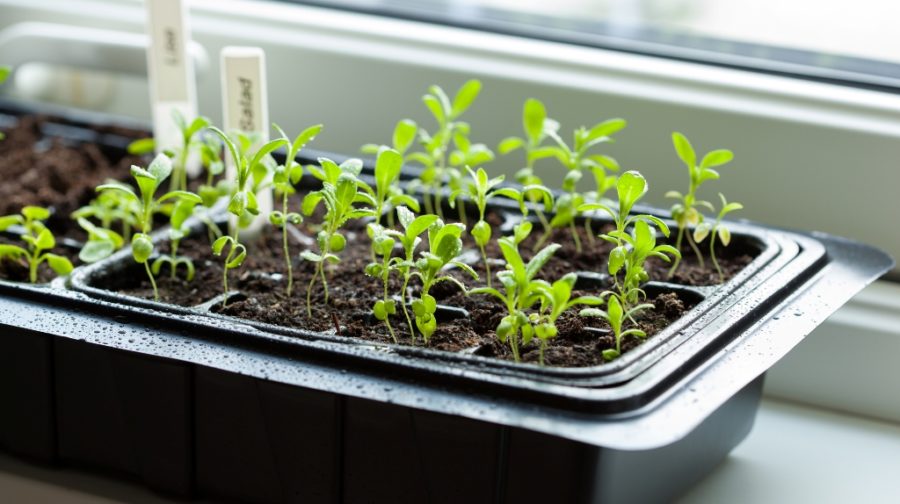
Lighting – Seedlings need strong light once they break through the soil. This can be natural sunlight from a window or, more often in our darker winter months, from a “grow light” or other lighting options. If using supplemental lights, remember to put them on a timer as seedlings also need at least 6 hours of darkness. Rotating your seedling population will help them to grow evenly.
Pots & Trays – Since you’ve already figured out your working area, getting the right number of seeding containers is easy. These can be seed trays, plantable coir pots, even small yogurt containers! Make sure that all containers are sterile, have good drainage, and are the right size – anything larger than 4” will hold too much moisture and could lead to root rot, but you can use them for repotting later. You’ll also need something to catch any excess water. Many seeding trays come with a holding tray, or you can use anything that’s flat with raised edges; baking sheets and boot trays work very well.
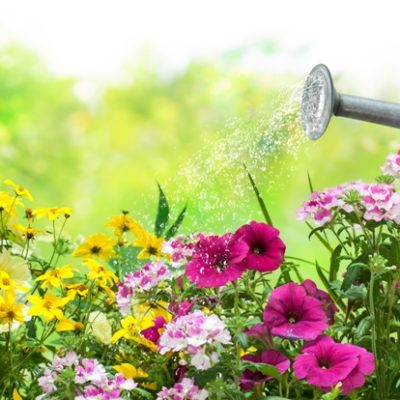
Watering – Seedlings need a light touch when it comes to watering: they can’t be kept too wet or too dry. A mister or fine spray bottle will gently add moisture without flattening the delicate sprouts. And be prepared to check your seedlings 3 or 4 times a day.
Temperature – Most seeds are perfectly fine with average house temperatures (20-25°C) so unless your seeding station is under a drafty window you should also be fine. Once they’ve sprouted, keeping them slightly cooler will help keep them strong and compact.
Humidity & Ventilation – Many seeding trays come with a plastic dome that helps to contain humidity, as most seeds need consistent moisture when first sprouting (you can also use a clear plastic bag to enclose your containers). Be sure to remove the dome/bag once leaves have appeared. They’ll need good airflow at this point to keep mould and fungal diseases at bay, so keep a fan nearby on a low setting.
Name Tags – Label your seedlings! Plant tags, coffee stir sticks, even masking tape will help your seeding sanity. If you choose to skip this step, you’ll kick yourself for not labelling your Sweet Banana Peppers from your Hungarian Hot Wax!
Ingredients: Once you’ve got all your pots and pans, I mean, seeding materials all set, now you’re ready to get your ingredients together:
Growing Medium – AKA soil! Go for potting soil that is specially made for seeding, as it is super light and will easily allow the new, tender roots to grow and spread. Most importantly, it dries quicker: other potting soils can keep your seedlings unevenly moist or too wet for too long, which will then lead to “damping off” or, in other words, seedling death. Do Not Use Garden Soil!
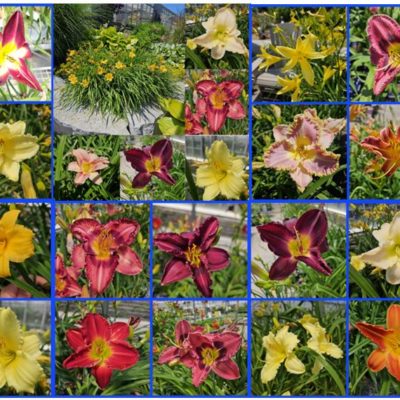
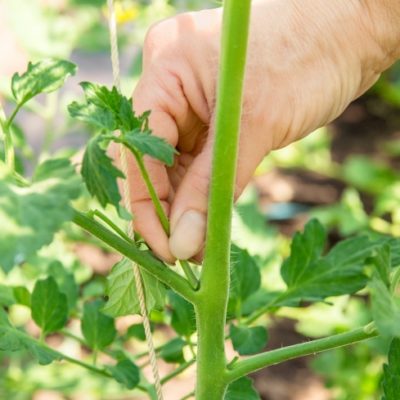
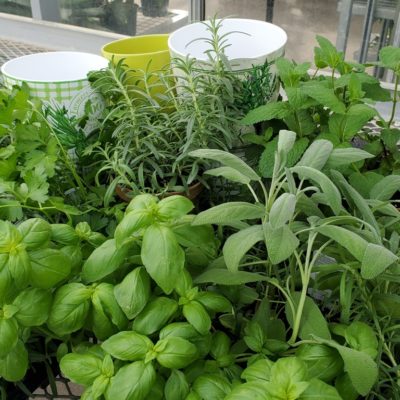
Seeds – I know, you’ve waited SO long for this one, but you’ve finally made it! If you were dreaming of all your future varieties while working on your seeding station, good job! Planning ahead will make it so much easier to reach your seeding goals, so now you can order that perfect pepper, beautiful basil, and that rainbow of flowering annuals and perennials!
Just starting the seeding journey? Overwhelmed by the seed choices? Check out this chart:
Easy Seeds for Beginners
| Vegetables | Annuals | Perennials |
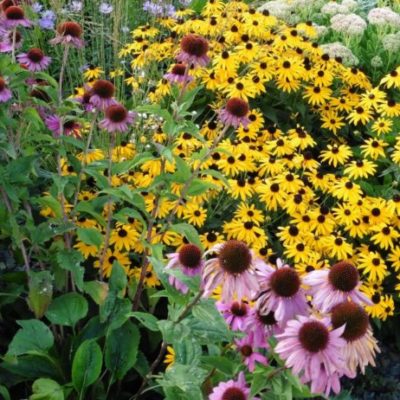
| Beans, Carrots, Chard, Corn, Cucumbers, Greens, Kale, Melons, Peas, Squash, Tomatoes | Alyssum, Cosmos, Marigolds, Morning Glories, Nasturtiums, Sunflowers, Sweet Peas, Zinnias | Columbines, Delphiniums, Dianthus (Pinks), Hollyhocks, Poppies, Rock Roses (Helianthemums) |
Fertilizer – No need to worry about this one until you see at least 4 leaves (the first two are the “cotyledons” or seed leaves and are part of the seed’s embryo). Use a liquid all-purpose fertilizer at half-strength once or twice a week, and clear water the rest of the time. Note: For seeding, do not choose a potting mix with fertilizer already in it. Adding fertilizer manually is more efficient and will let you stay in control of your plants’ health.
Time – No, not thyme the herb. Timing is absolutely essential – start your seeds too early or too late and you’ll be risking your crop. But don’t worry, there’s still plenty of time to cover that in Part 2!
Post Views: 5,531